Home / How to use thinning scissors
How to Use Thinning Scissors Without Leaving Holes
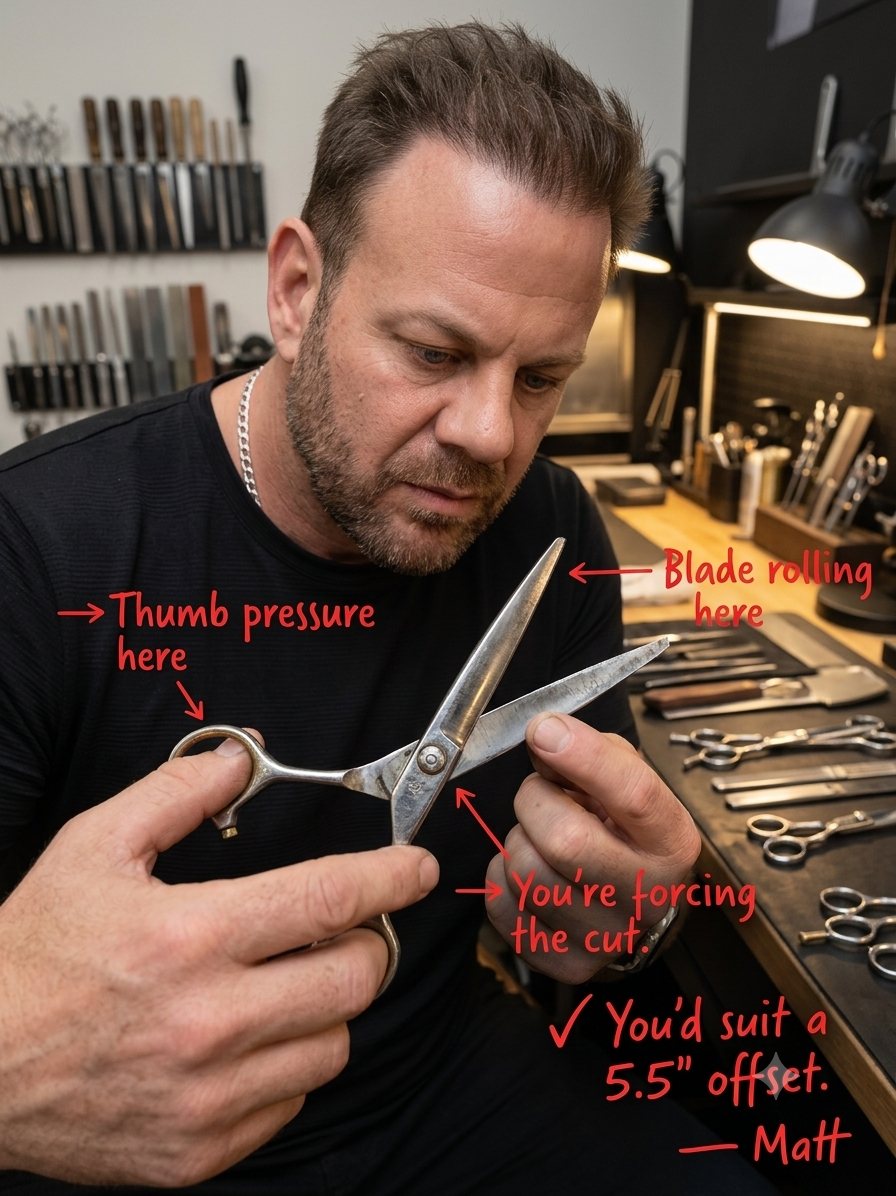
Written by Matt Grumley — Hairdresser & Scissorsmith, ShearGenius, Victoria. Behind the chair since 1990, he has hand-sharpened over 100,000 scissors across every brand on the market.
Use thinning scissors on the mid-lengths and ends, never at the root. Take a thin section, close the blades once or twice, at different points part-way down it, then comb through and look before you take any more. Most of the holes and spiky short pieces people blame on the scissor come from cutting too close to the scalp, or from taking too many cuts in the same place.
How do thinning scissors work?
A thinning scissor has one plain blade and one toothed blade. When it closes, only the hair caught between the teeth is cut, so each cut removes part of the section rather than all of it. That is why it softens weight and blends lines without changing the overall length. How much it removes per cut depends on the teeth: fewer, wider teeth take out more hair, and more, finer teeth blend more softly. The tooth count is explained in thinning, texturising and channelling scissors.
How to hold thinning scissors
Hold them the way you hold cutting scissors: ring finger through the finger ring, little finger on the finger rest if there is one, and the thumb only part-way into the thumb ring. Keep the finger blade still and move only the thumb. Angle the blades slightly into the section rather than cutting straight across; an angled cut blends more softly.
Step by step
- Comb the hair clean so you can see the line you are working on.
- Take a thin section and hold it away from the head, as you would to cut it.
- Place the blades part-way along the section, through the mid-lengths and ends. Keep well away from the root: hair cut short near the scalp has nothing above it to hold it down, and it sticks up through the top layer.
- Close the blades once, open them, and move to a new spot. Avoid closing twice in exactly the same place.
- Comb through and check. It is easy to take out more, and impossible to put it back.
Where to be careful
- The top layer and the parting. Short pieces here show straight away. Thin underneath and leave the surface hair long.
- Fine hair. There is little bulk to remove, so a few cuts go a long way.
- Curly hair. Shorter pieces spring up shorter again, so thin sparingly and check each section.
Using thinning scissors on your own hair
It can be done, carefully. Work in good light with a mirror, take small sections, thin only the mid-lengths and ends, and stay away from the top layer and the parting. Take one cut at a time and comb through to check after each section, because the back is hard to see. On curly or fine hair, thin less than you think you need, or leave it to a hairdresser.
Choosing the right thinner
A blending thinner with more teeth is the safer everyday tool; a texturiser or chunker with fewer, wider teeth removes weight faster and needs a lighter hand. ShearGenius explains the trade-offs in its complete guide to thinning scissors, and its tooth-count guide goes deeper on how many teeth suit which job. The thinners in this site’s thinning scissors range list their steel and hardness, and their length and tooth count wherever those are published.
Matt’s picks
Which model for this need
- Invisible blending on fine or coloured hairVampire 35 A high-tooth blender: 6.0″, 35 curved radial teeth. More teeth means less visible removal.
- Everyday texturising, matched to an all-rounderGeisha thinner The Geisha's matching thinner: 6.0″, 30 curved radial teeth.
- Everyday texturising on a mixed chairVampire 26 A mid-count texturiser: 6.0″, 26 curved radial teeth.
- Deliberate separationDracula 10 A channeller: 6.0″, 10 curved radial teeth, for visible sections rather than blending.
- ApprenticesYoung Genius thinner The thinner that goes with Matt's apprentice pick: 5.5″, 26 curved radial teeth.
Prices, savings and the lengths in stock are read live from the shop. See every scissor in the shop.